

Support

Gamestars Free Fire: Solo Battle
FAQ
To log in to your profile account on the Gamestars website, click on the button in the upper right corner of the website.

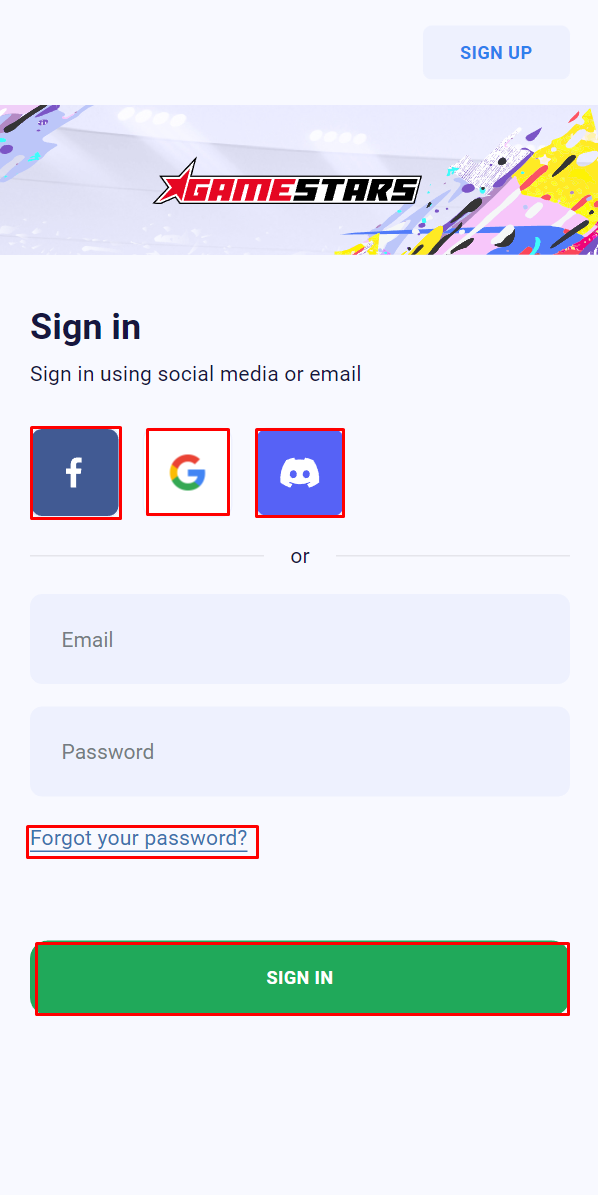
You will be redirected to the authorization page.1. Sign in.
In case you already have an account on the website, you can log in on this page by using your email and password or by using social media (Facebook, Google, and Discord) or email.
You can also recover the password of your account on this page.
2. Sign up.
If you do not have an account on the website, you can register by clicking on the "SIGN UP" button in the upper right corner. You will be redirected to the registration page.
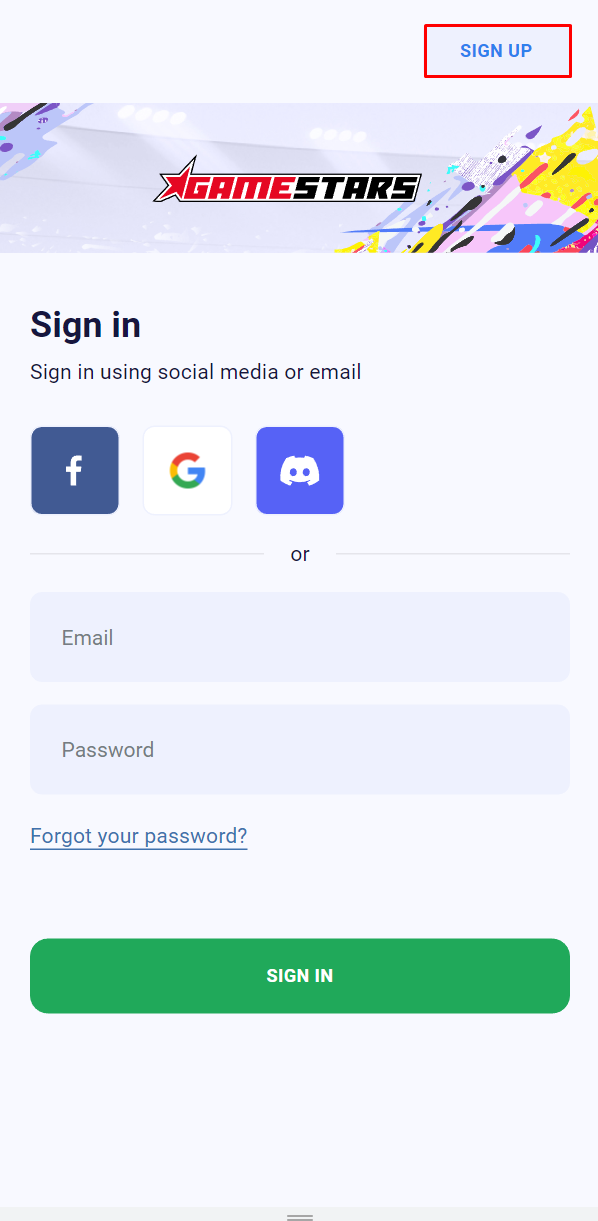
You will be redirected to the registration page.
You can register using social media (Facebook, Google, and Discord) or your mail and password. By accepting the privacy policy and terms of use and clicking on the SIGN-UP button at the bottom, you will be successfully registered and redirected to the Gamestars website.

IMPORTANT! Remember and use only the login method with which you registered on the site! Registration and logging in using different login methods (mail /discord/facebook) imply logging into other accounts.
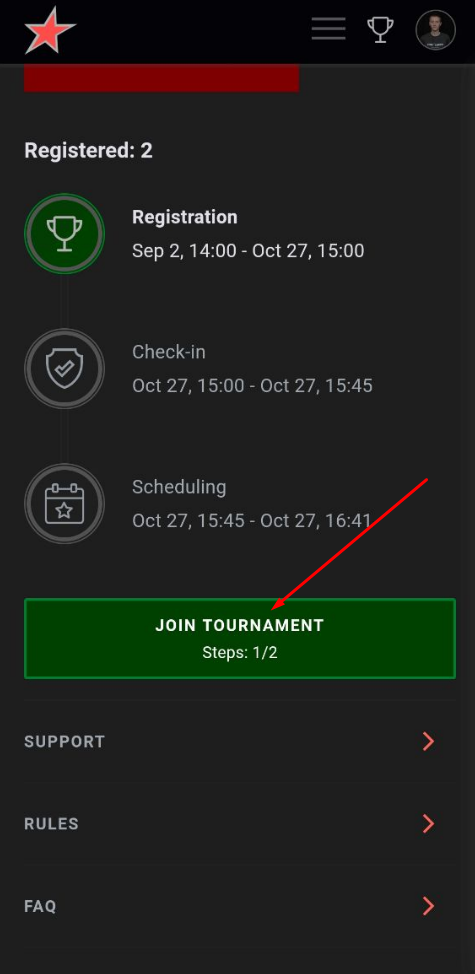
To register in the tournament click the button "Join tournament"
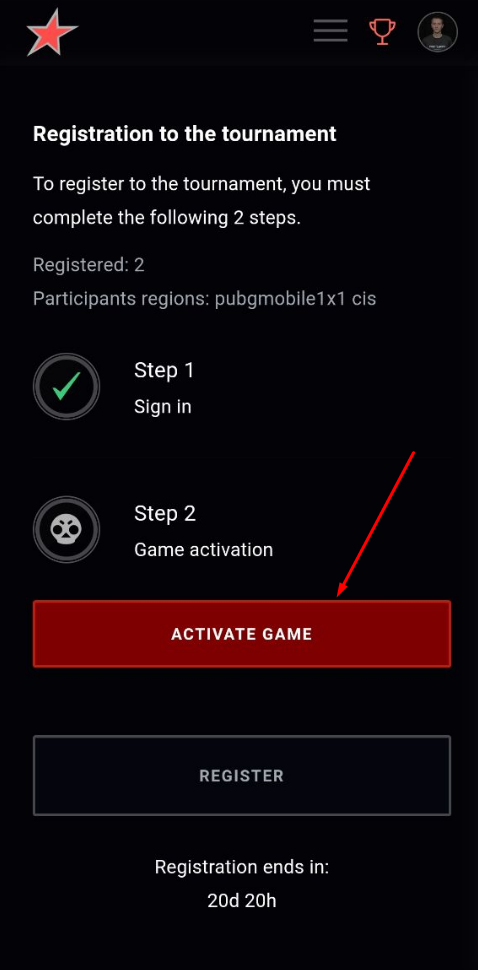
In case you didn't activate game on the website - you need to active it. To do that - click the button "Activate game"
You will be redirected to activation page. You need to set your region, your Game ID and click the button "Game activation"
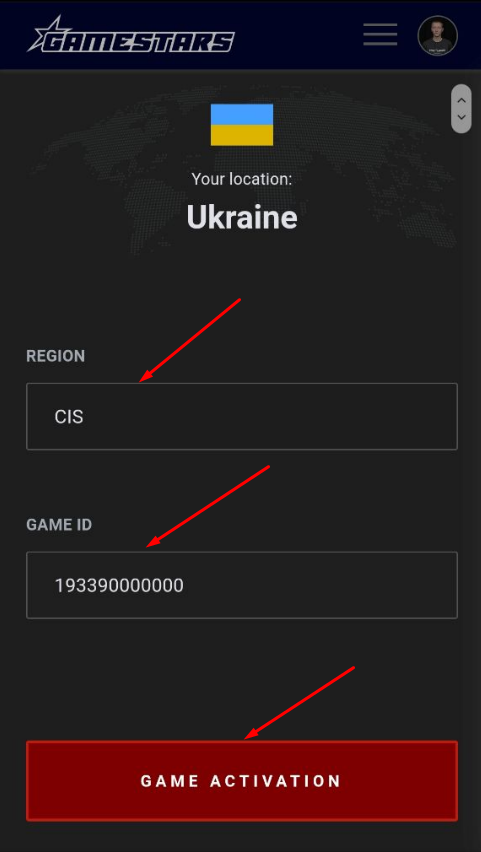
Game ID can be seen in the game by opening the profile. To do this, click on your avatar in the upper left corner. You can also copy your Game ID by clicking on the button to the right of it.
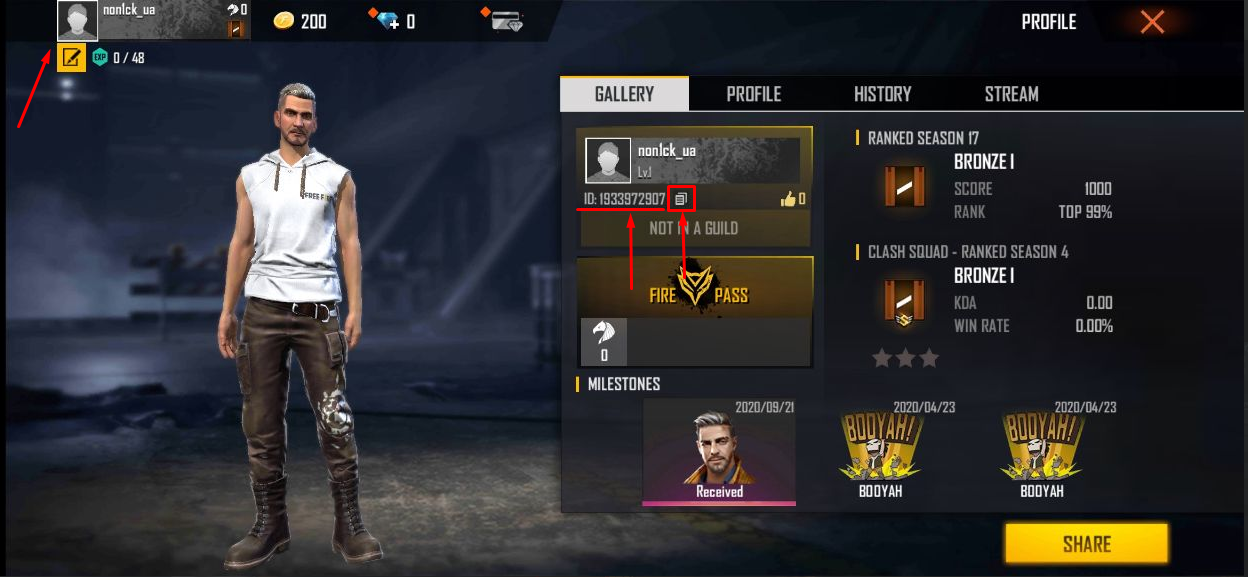
Game ID - is not your in-game nickname! Game ID consist only with numbers.
After you activate game - you will get message that your game was activated. Click the button "Back to the tournament" - you will get back to tournament registration page.
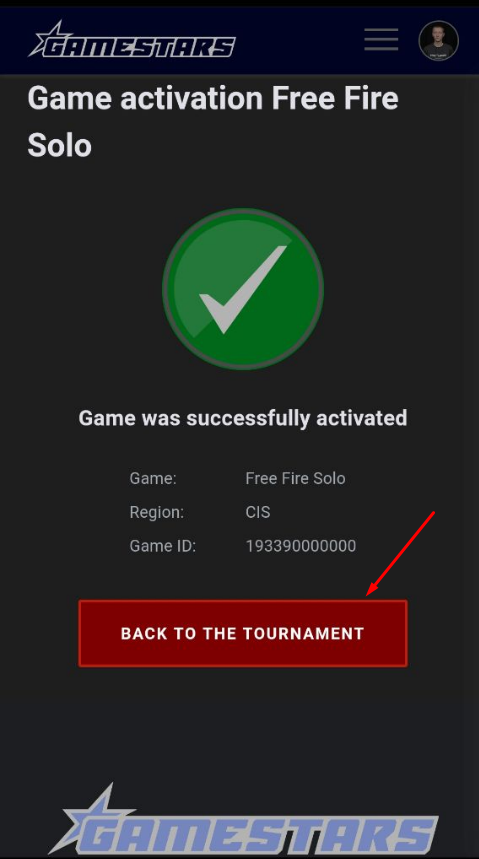
Then click "Register" to register in the tournament.

You will get message that you have successfully registered in the tournament. Also, on the main page of the tournament, instead of the button "Join the tournament" there will be information that you are registered in the tournament and your position in the list.
The confirmation phase for participants (players or teams, depending on the tournament) will begin on the dates written on the tournament page.
During the confirmation phase, the "Leave Tournament" button will change to "CHECK-IN" for registered player.
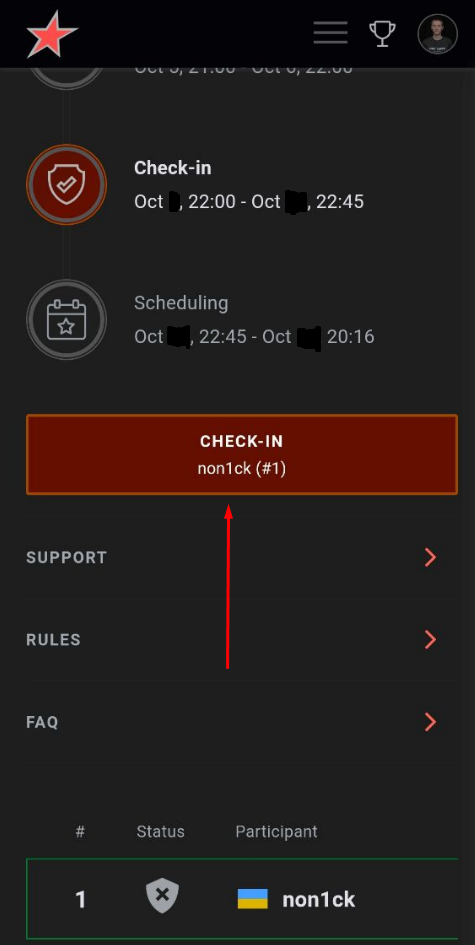
Click on this button, and you will be redirected to a confirmation page. On this page click on "CHECK-IN" button.

After successful confirmation, you will see a notification on this page that confirmation is done, and the button will change to "Leave tournament".

Participants are able to register in the tournament during confirmation stage.
The confirmation step is required. Confirmation dates are different for all tournaments. Participants who did not confirm their participation, will not be able to take part in the tournament, even if the were registered.
IMPORTANT:
If you are a citizen of the participating countries (Russia, Ukraine, Kazakhstan), living in these countries, but you're using a VPN - you need to turn off VPN and re-log in to the website (log out from your account and log in again), otherwise you will not be able to confirm your participation.
If you are a citizen of the participating countries (Russia, Ukraine, Kazakhstan), but do not live in the territory of these countries, you need to write to the tournament referee in Discord, confirm your citizenship with an official document, after that you will be confirmed in the tournament.
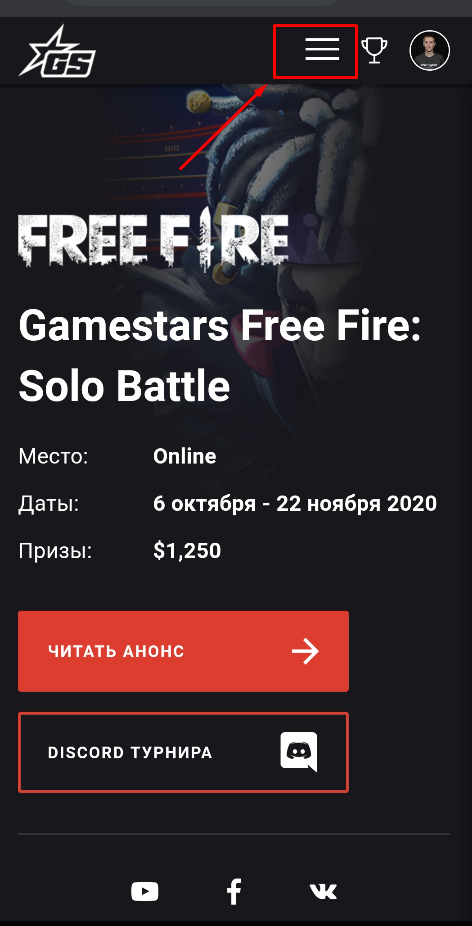
On the main page of the tournament, you will see the time displayed on the site.

If the time does not match the actual time in your area, you can set the time zone you need. To do this, click on the settings button next to your avatar.
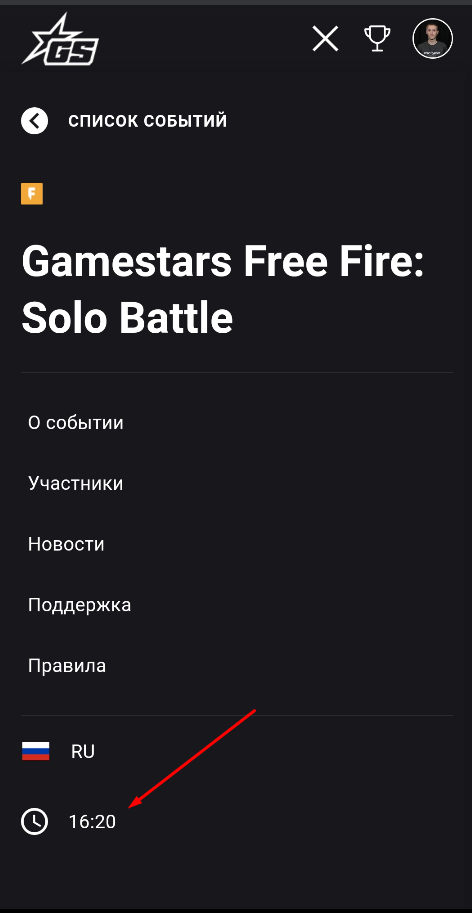
A menu will open to you, where the clock will be visible at the very bottom. Click on them, and you can select the time zone you need.
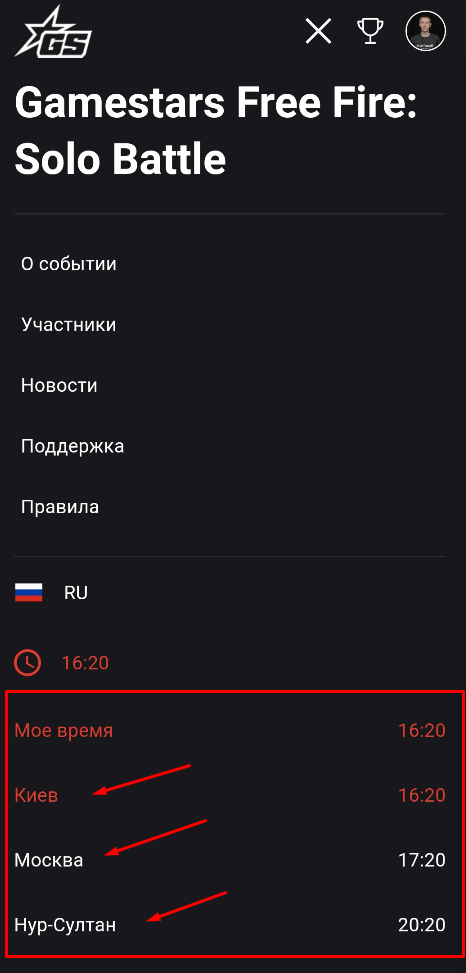
The date and time on the site is adjusted to the time zone that you set in the time zone settings on the site. This includes the date and time of confirmation, the date and time of your matches, etc.
That is, if you have set the Moscow time zone, the date and time of your matches will be indicated on the site in Moscow time.
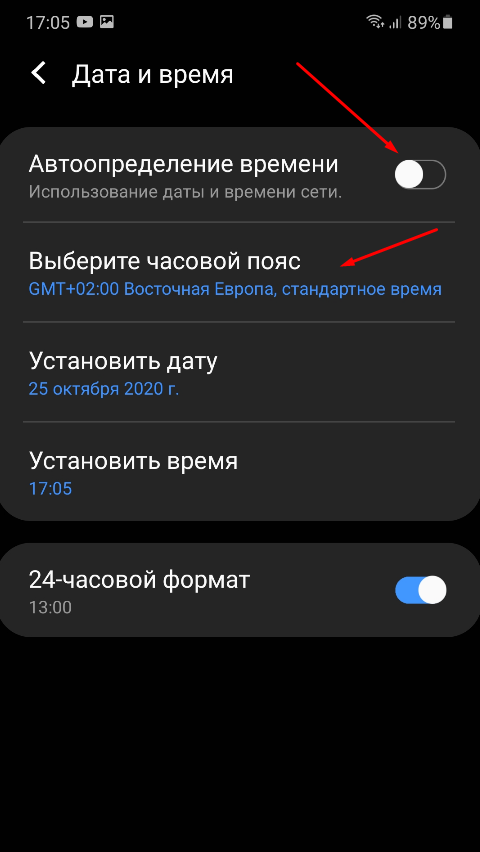
IMPORTANT:
The time on the site may be displayed incorrectly if the wrong time zone is set in the settings of your device (PC, Smartphone, etc.). Make sure that the time zone on your device is set correctly, or set "automatic time detection". An example in the screenshot below:
After the schedule is created, groups will appear on the main page of the tournament, instead of the list of participants.
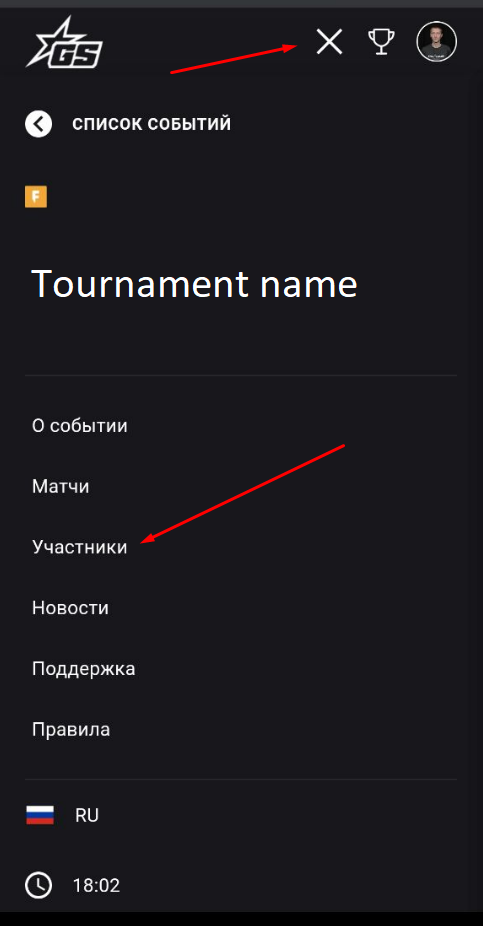
You can also get to the page with groups from the site menu by opening it and clicking on the "Members" button
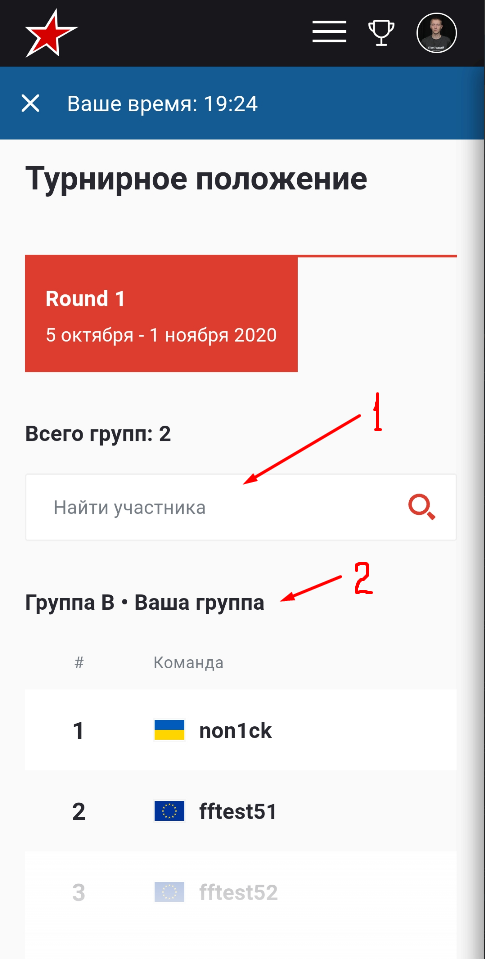
1. Above the list of groups, there is a field for searching for members. You can find any participant of the tournament by the nickname of his account (the name of the team for the team tournament) on the site.
2. Your group will be the first in the list of groups. Make sure you are logged in to see your group.
By clicking on the "Position and matches" button, you can view the standings and the list of matches of the group, with their date and time.

By clicking on the "Tournament position" tab, you can view the standings of the group members, their points for places and keels, as well as the total points in the group based on the results of all matches.
Tip: Fold your phone horizontally for easier viewing.

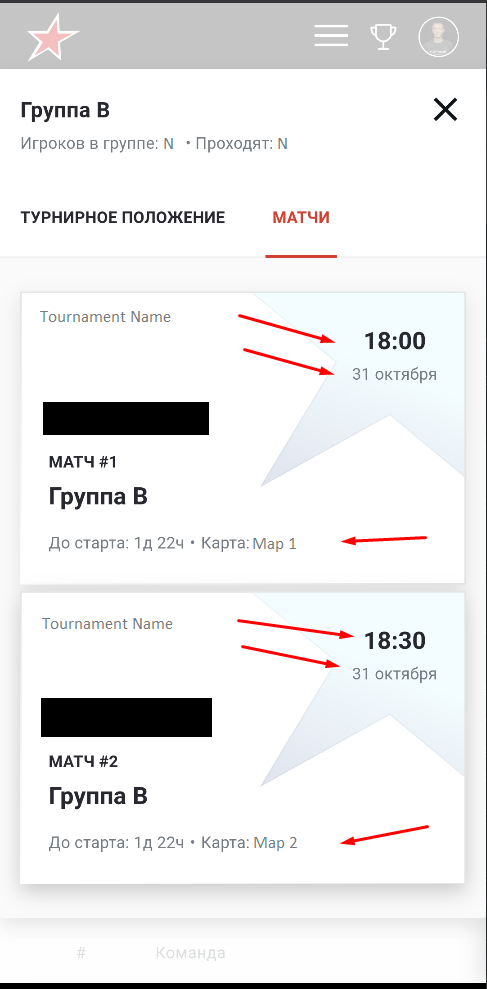
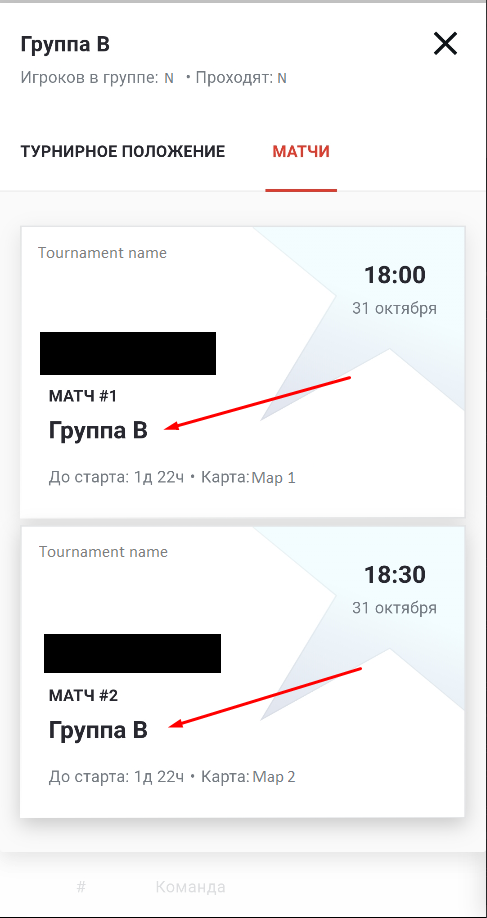
The "Matches" tab contains a list of all matches of the group, with the specified date, time, maps, on which the matches will be played.
IMPORTANT:
The date and time of the matches are indicated according to the time zone that is displayed on your website. How to configure the time zone on the site is described in the previous article.
Go to the page with the matches of your group (how to do this is described in the previous article).
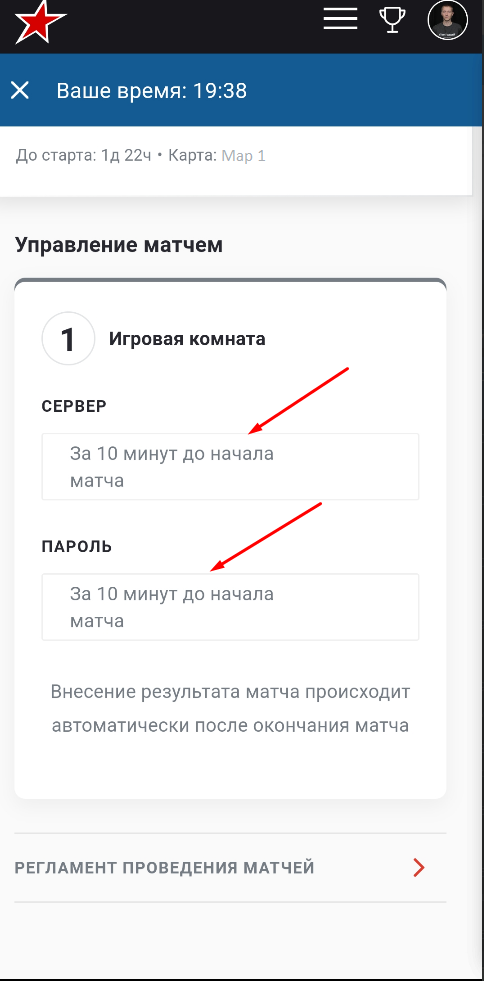
By clicking on the match you need, you will be taken to the match page. On this page, you can see the list of participants in the match, and, most importantly, the room ID and password.
The room ID and password will be available on the match page 10 minutes before the match starts.
IMPORTANT:
-Be sure to refresh the page ~ 10 minutes before the start or later for this data to appear.
-Make sure you are logged into your account on the site, otherwise the room ID and password will not be visible to you.
To do this, click on your avatar in the upper right corner, you will see your nickname, settings, etc. If the nickname is yours, you are in your account. If, after clicking on the avatar, you will be redirected to the authorization page on the site - log in.
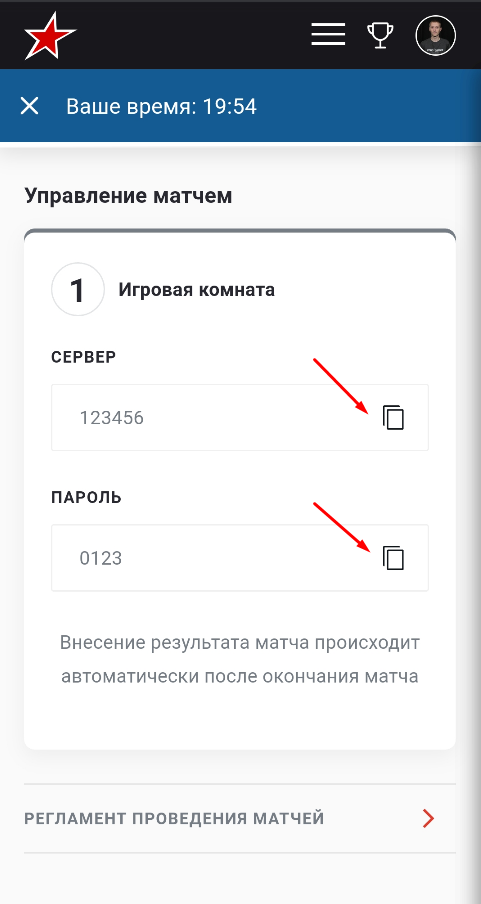
After the data for entering the match room has appeared, you can copy it by clicking on the corresponding buttons. An example is shown in the screenshot below.
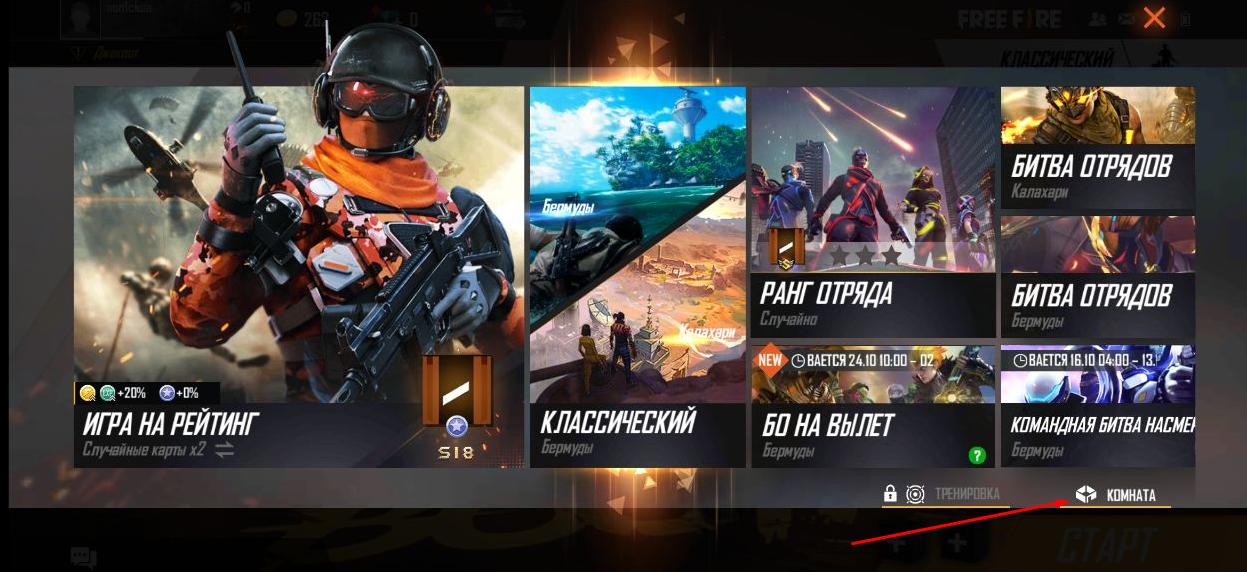
In order to enter the Free Fire match room in solo mode, press the mode selection button.

On the page that opens, select “Room”
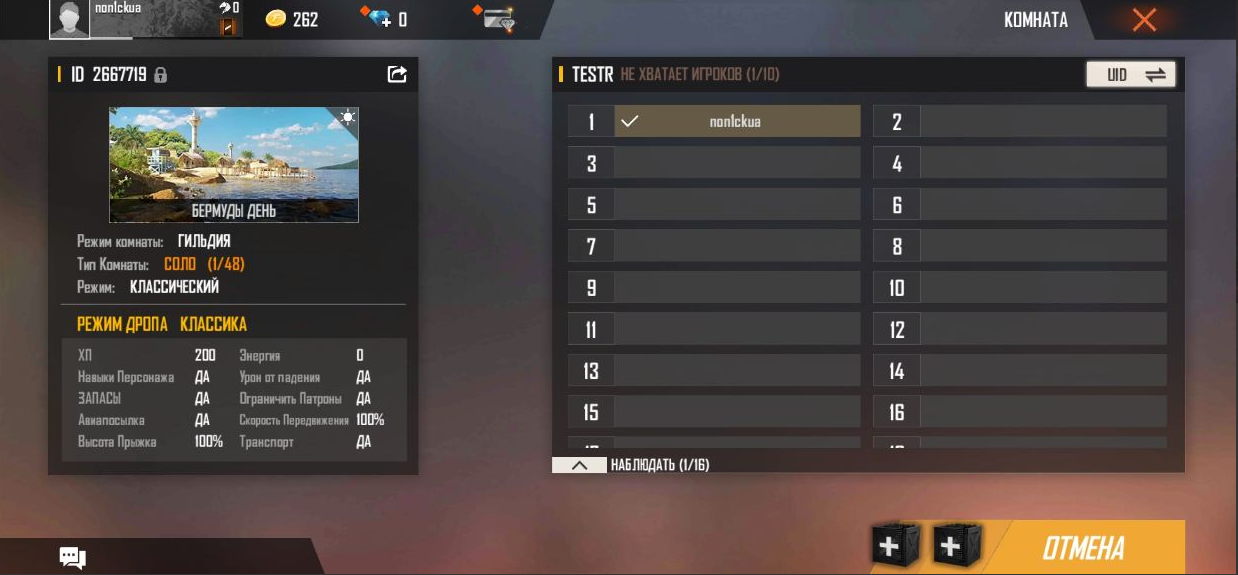
In the window that appears:
1. Be sure to select the “Guild” tab.
2. Enter the room ID in the corresponding field.
3. Click the search button.
4. The match room will appear. Click on it, the “Login” button will appear. Click on this button.

In the window that appears, enter the password for the room and click “Confirm”.
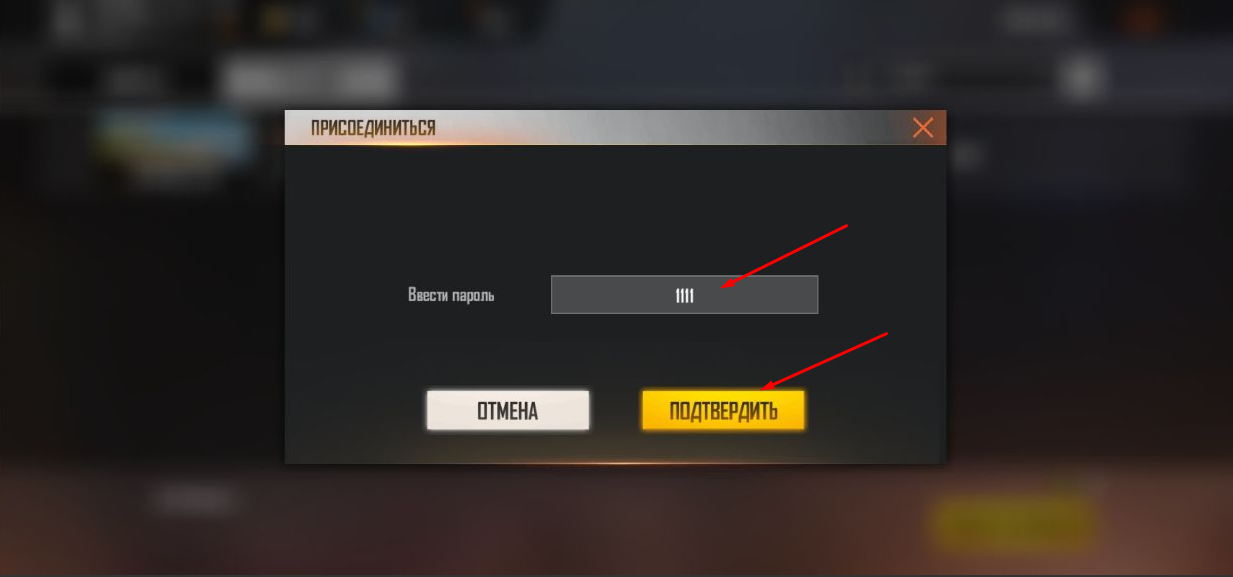
You are in the lobby. Wait for the start of the match.
The room ID and password are available on your match page on the tournament website. How and where exactly to find them is described in the previous article.